
By: The Clairebarian
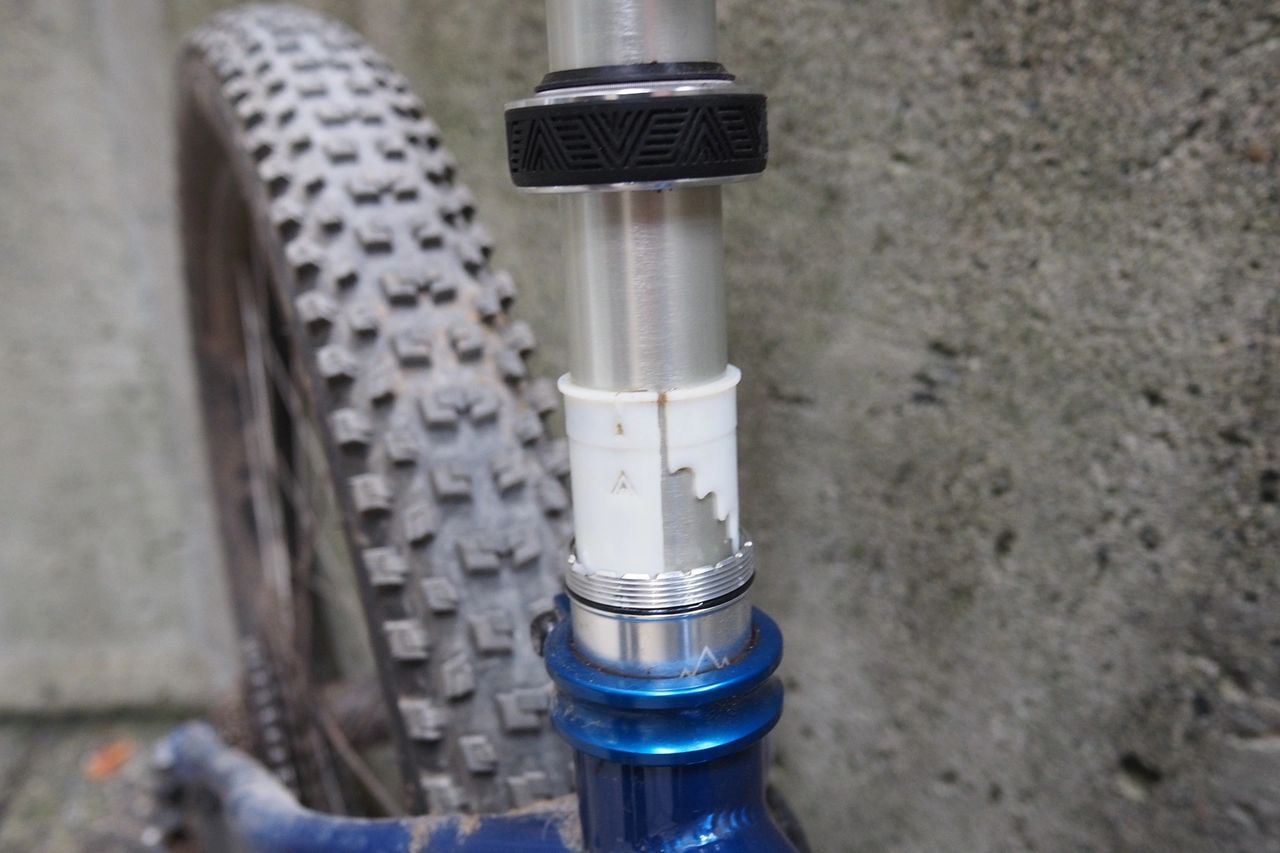
I’ve been running a dropper post for years, since my Marin SQ24. I received this 150mm* travel PNW Loam 2 dropper post in June*. One of the main features is the tool-less travel adjustment. Just unwind the collar, and set the spacer! It adjusts 5mm at a time, and the total adjustment range is 25mm.
I started with this post at 125mm, and this was perfect for my Chromag Samurai. Suddenly, it was too low. I said, “Papa, can you raise my post again?” That wasn’t a surprise, until the next ride, when I said, ” Papa, can you raise my post again?” It feels like it’s happened almost every ride.
*{Drewitors note: The PNW Loam 2 is available in 125mm, 150mm, 175mm, 200mm, and 225mm travel lengths, in a black or silver anodized finish. For more specs, check out the MEATengines first impressions piece.}


In the picture above, my papa, Uncle Crash Test Kevin, and I were at Burke Mtn. We were walking up a skidder road, and I saw this rock. I rode up it once, and then did it again to have my picture taken. It looks pretty flat in the picture, but it’s actually pretty steep. As you can see, my post is down. I’m better at putting my post down when I’m going up technical climbs.
I used my post a lot when we went to Burke. But I actually used it more on the ascent than the descent. The downhills were quite steep, so I really wasn’t using it. The climbing was a mix of fire roads, skid roads, and technical sections. I was either standing, walking, or sometimes sitting*. When I was sitting and needed to stand, I like to put the post down.
*{Drewitors note: one-speed bikes actually have three gears – sitting, standing, walking.}


I started by running the PNW Loam V2 remote. Because of the position, I decided it was a bit too hard to push down compared to my OneUp V3 remote. I had already ridden with the OneUp remote on my SQ24 and on my Samurai. I like the position of my OneUp remote better than the PNW. I find it easier to push down because it’s closer to my handlebars. Also, it’s blue.
The position is especially important in steep sections. I think PNW should make a second option for the PNW remote, where you can make it closer to the bar.


I am having a great experience with this post. I really like it. It’s very smooth, it’s very easy to actuate, and it’s very shiny. I will write more about it in the future.
In conclusion, I really like this dropper post.
{For more information, check out our Loam 2 first impressions, or PNW.com.}
Welcome to MEATengines, I hope you enjoyed this piece. If you did, please consider buying me a London Fog. Any questions, concerns, or comments; feel encouraged to drop me an e-mail, or join us at r/MEATengines.